library(tidyverse)Presentation 4A: Scripting in R - Conditions and Loops
In this section we will learn more about flow control and how to make more complex code constructs in R.
If-else statments
If-else statements are essential if you want your program to do different things depending on a condition. Here we see how to code them in R.
First define some variables.
num1 <- 8
num2 <- 5
Now that we have variables, we can test logical statement between them: Is num1 larger than num2? The result of a logical (boolean) statement is always one of either TRUE or FALSE:
num1 > num2[1] TRUEWe use logical statements inside an if statement to define a condition.
if (num1 > num2){
  statement <- paste(num1, 'is larger than', num2)
  print(statement)
}
[1] "8 is larger than 5"We can add an else if to test multiple conditions. else is what applies when all previous checks where FALSE.
Now we have three possible outcomes:
#try with different values for num2
num2 <- 10

if (num1 > num2){
  statement <- paste(num1, 'is larger than', num2)
} else if (num1 < num2) {
  statement <- paste(num1, 'is smaller than', num2)
} else {
  statement <- paste(num1, 'is equal to', num2)
}

print(statement)
[1] "8 is smaller than 10"And and or operations
You can give multiple conditions and check if both of them are true with the & (and-operation).
if (num1 < 10 & num2 < 10) {
  print('Both numbers are lower than 10')
} else {
  print('Both numbers are not lower than 10')
}
[1] "Both numbers are not lower than 10"You can also check if either one or the other is true with the | (or-operation).
if (num1 < 10 | num2 < 10) {
  print('One or both of the numbers are lower than 10.')
} else {
  print('None of the numbers are not lower than 10')
}
[1] "One or both of the numbers are lower than 10."When you use complex conditions it can be necessary to use parenthesis to show what should be evaluated first.
In the example below, we first evaluate whether num1 or num2 is larger than 10, and we will receive a TRUE or FALSE answer. We then combine that with the condition that num3 shoud be exactly 10.
# num1 <- 8
# num2 <- 5

num3 <- 10
if ((num1 < 10 | num2 < 10) & num3 == 10) {
print('Yes')
} else {
print('No')
}[1] "Yes"For-loops
Defining a for loop
Many functions in R are already vectorized, i.e.
df <- tibble(num1 = 1:10)
df
# A tibble: 10 × 1
num1
<int>
1 1
2 2
3 3
4 4
5 5
6 6
7 7
8 8
9 9
10 10df$num2 <- df$num1 * 10
df# A tibble: 10 × 2
num1 num2
<int> <dbl>
1 1 10
2 2 20
3 3 30
4 4 40
5 5 50
6 6 60
7 7 70
8 8 80
9 9 90
10 10 100The above code applies * 10 to each val of column num1 without us having to invoke a loop.
But sometimes we want to iterate over the elements in a data structure to do something more complex to each element. In these cases we can use a for loop.
We first define a vector containing both numeric and character elements.
V1 <- c(1, 2, 6, 3, 2, 5, 11, 17, 7, 8, 12, 15)To loop through V1, we define a loop variable, which holds the value of each item in the vector, one at a time. We can name the loop variable anything we want, but it is good practice to give it a name that reflects what it represents.
for (val in V1) {
  print(val)
}
[1] 1
[1] 2
[1] 6
[1] 3
[1] 2
[1] 5
[1] 11
[1] 17
[1] 7
[1] 8
[1] 12
[1] 15Here we might think what is the point of printing one element at a time, I can just call the vector. Yes, in the case above, it is not very useful, but we can do much more complex things in the loop.
for (val in V1) {
  Nval <- round(sqrt(val)/sum(V1), 3)
  print(Nval)
}
[1] 0.011
[1] 0.016
[1] 0.028
[1] 0.019
[1] 0.016
[1] 0.025
[1] 0.037
[1] 0.046
[1] 0.03
[1] 0.032
[1] 0.039
[1] 0.044Which data constructs are iterable in R?
Vectors:
my_vector <- c(1, 2, 3, 4, 5)
for (elem in my_vector) {
  print(elem)
}
[1] 1
[1] 2
[1] 3
[1] 4
[1] 5Lists:
my_list <- list(a = 1, b = "Hello", c = TRUE)

my_list
$a
[1] 1
$b
[1] "Hello"
$c
[1] TRUEfor (elem in my_list) {
print(elem)
}[1] 1
[1] "Hello"
[1] TRUEDataframes and tibbles:
my_df <- data.frame(A = 1:3, B = c("X", "Y", "Z"))
my_df
A B
1 1 X
2 2 Y
3 3 Z# Over columns
for (col in my_df) {
print(col)
}[1] 1 2 3
[1] "X" "Y" "Z"For row-wise iteration you can for example use the row index:
for (i in 1:nrow(my_df)) {
  print(i)
  #print row i
  print(my_df[i,])
}
[1] 1
A B
1 1 X
[1] 2
A B
2 2 Y
[1] 3
A B
3 3 Z# Over columns by index - explicit!
for (i in 1:ncol(my_df)) {
print(my_df[, i])
}[1] 1 2 3
[1] "X" "Y" "Z"Plotting in loops
Create data
plot_data_1 <- tibble(Name = c('Marie', 'Marie', 'Emma', 'Sofie', 'Sarah', 'Sofie', 'Hannah', 'Lise', 'Emma'),
                      Class = c('1.A', '1.A', '1.A', '1.A', '1.B', '1.B', '1.B', '1.C', '1.C'),
                      Food = c('Lasagna', 'Pizza', 'Pizza', 'Bruger', 'Lasagna', 'Lasagna', 'Lasagna', 'Burger', 'Lasagna'),
                      Age = c(6, 6, 6, 6, 6, 5, 7, 6, 6))

plot_data_1
# A tibble: 9 × 4
Name Class Food Age
<chr> <chr> <chr> <dbl>
1 Marie 1.A Lasagna 6
2 Marie 1.A Pizza 6
3 Emma 1.A Pizza 6
4 Sofie 1.A Bruger 6
5 Sarah 1.B Lasagna 6
6 Sofie 1.B Lasagna 5
7 Hannah 1.B Lasagna 7
8 Lise 1.C Burger 6
9 Emma 1.C Lasagna 6Barplot of each variable.
ggplot(plot_data_1,
       aes(x = Name)) +
  geom_bar()
ggplot(plot_data_1,
       aes(x = Class)) +
  geom_bar()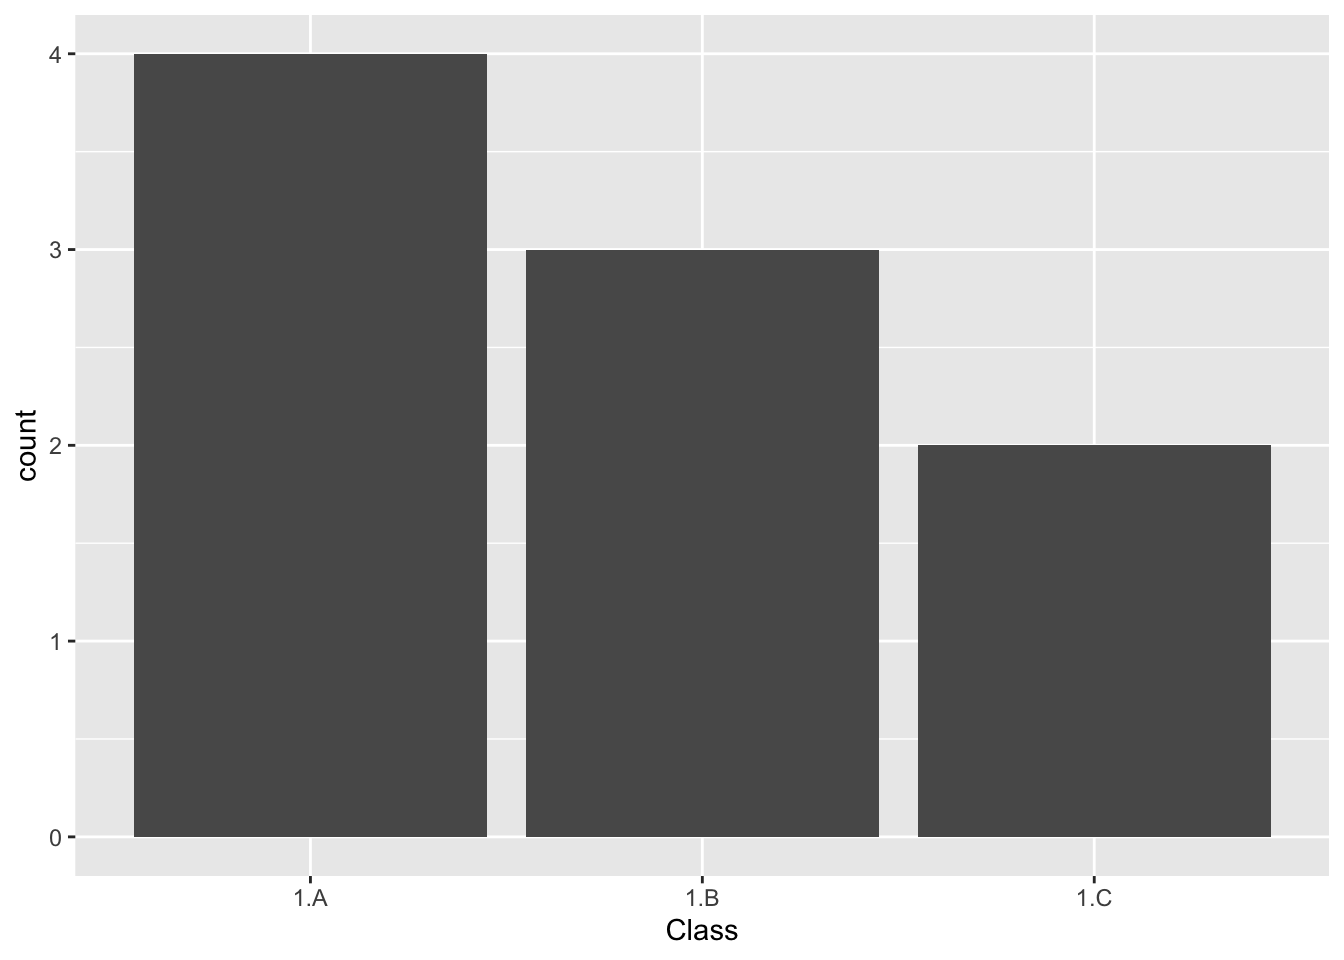
# and so on ...Let’s do it in a for loop!
First, let’s check that the variables we are interested in are iterated correctly.
for (col in colnames(plot_data_1)){
  print(col)
}
[1] "Name"
[1] "Class"
[1] "Food"
[1] "Age"Great! Now, let’s add the plot function to our for loop.
for (col in colnames(plot_data_1)){
  p <- ggplot(plot_data_1,
       aes(x = col)) +
  geom_bar()

  print(p)
}
Warning in geom_bar(): All aesthetics have length 1, but the data has 9 rows.
ℹ Please consider using `annotate()` or provide this layer with data containing
a single row.
Warning in geom_bar(): All aesthetics have length 1, but the data has 9 rows.
ℹ Please consider using `annotate()` or provide this layer with data containing
  a single row.
Warning in geom_bar(): All aesthetics have length 1, but the data has 9 rows.
ℹ Please consider using `annotate()` or provide this layer with data containing
  a single row.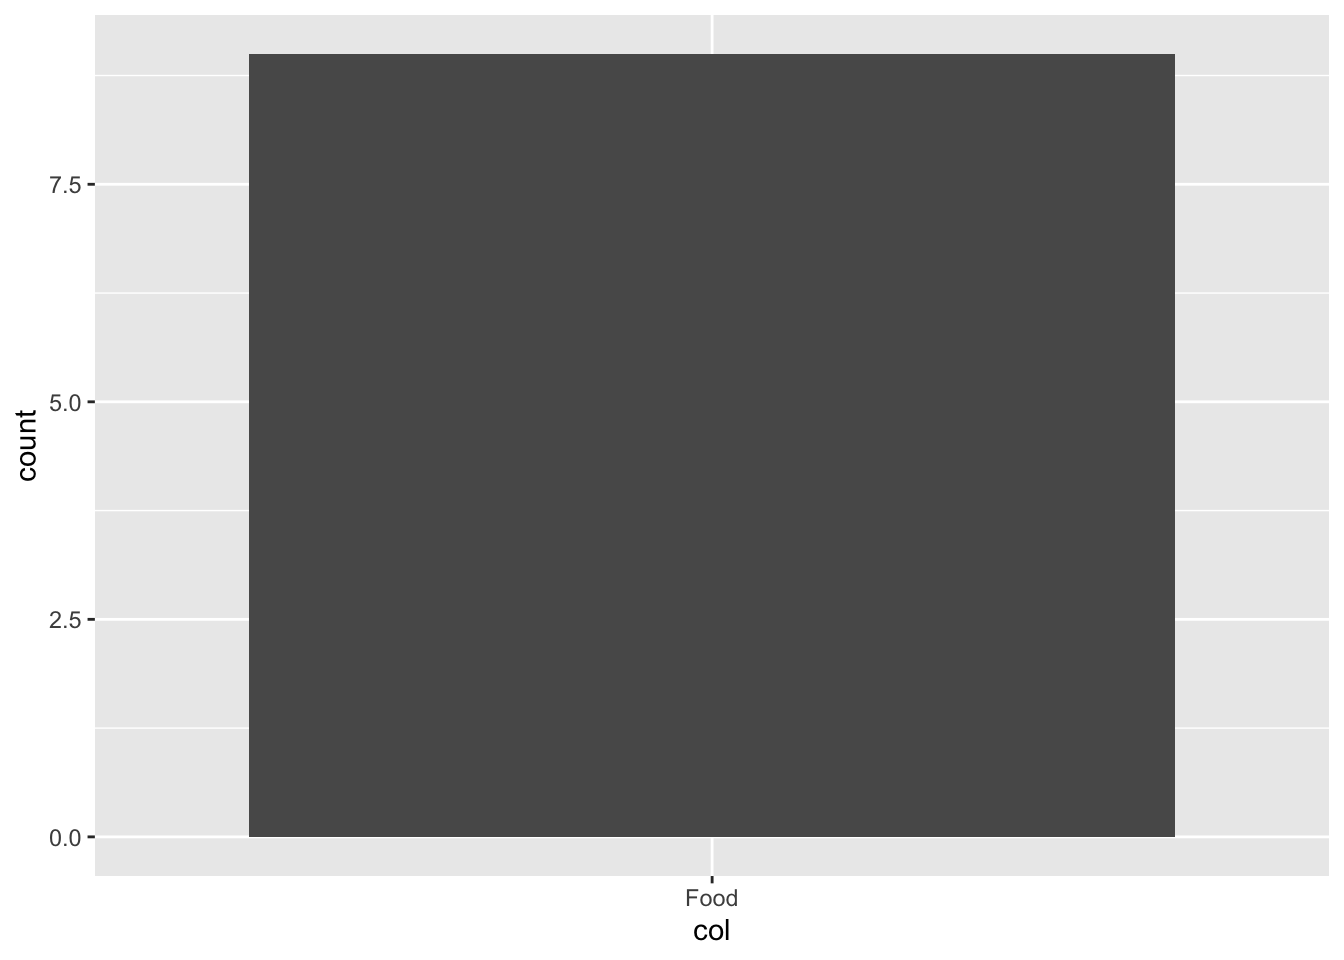
Warning in geom_bar(): All aesthetics have length 1, but the data has 9 rows.
ℹ Please consider using `annotate()` or provide this layer with data containing
  a single row.
That was not what we wanted…
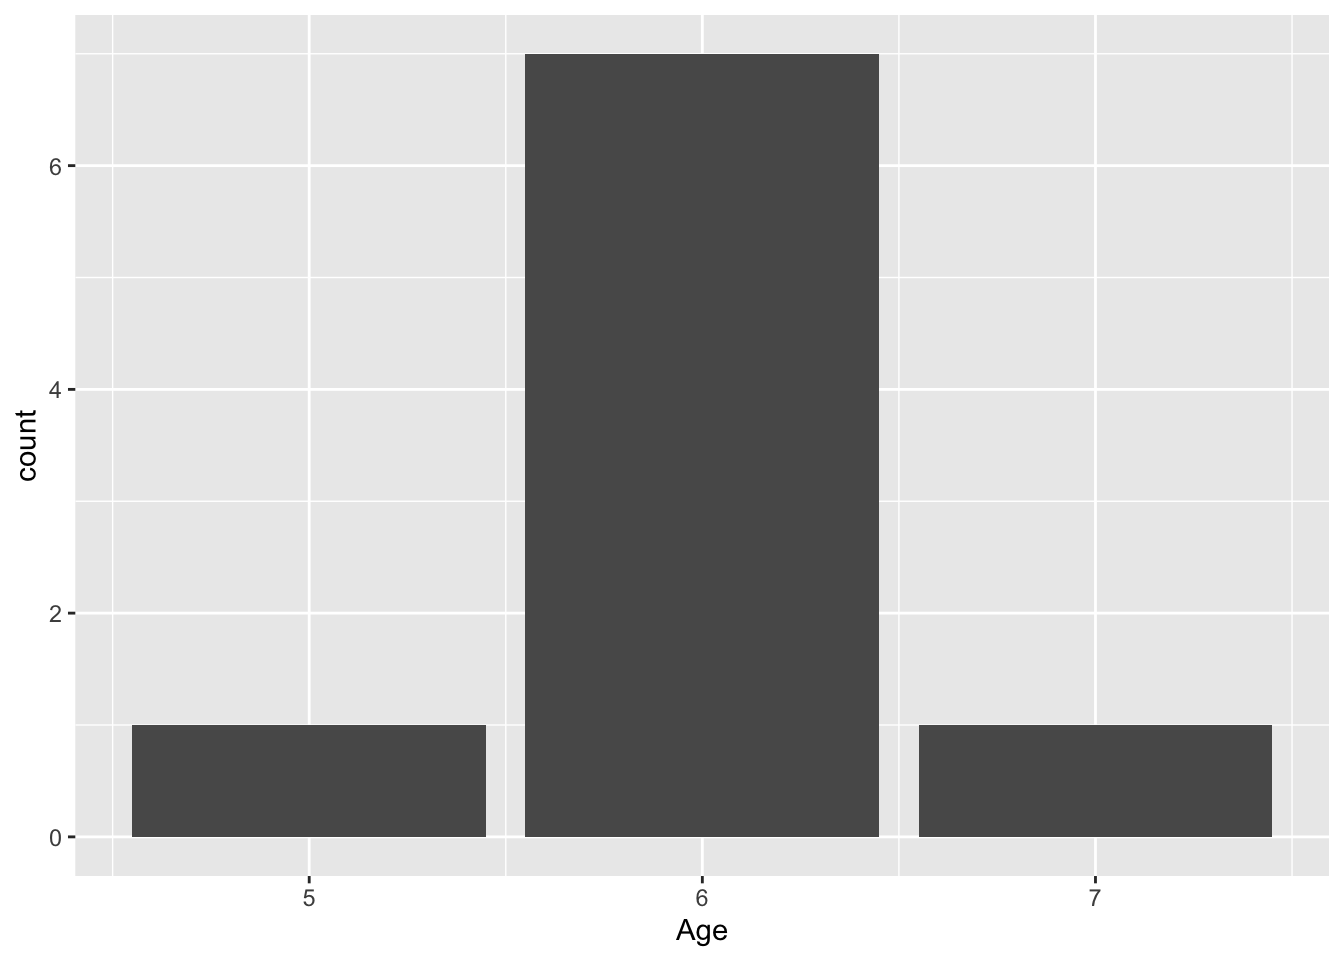
INSTEAD! Wrap the .data[[]] around col to get the correct plot.
.data= the current data frame inside aes()[[col]]= look up the column whose name is stored in the string col
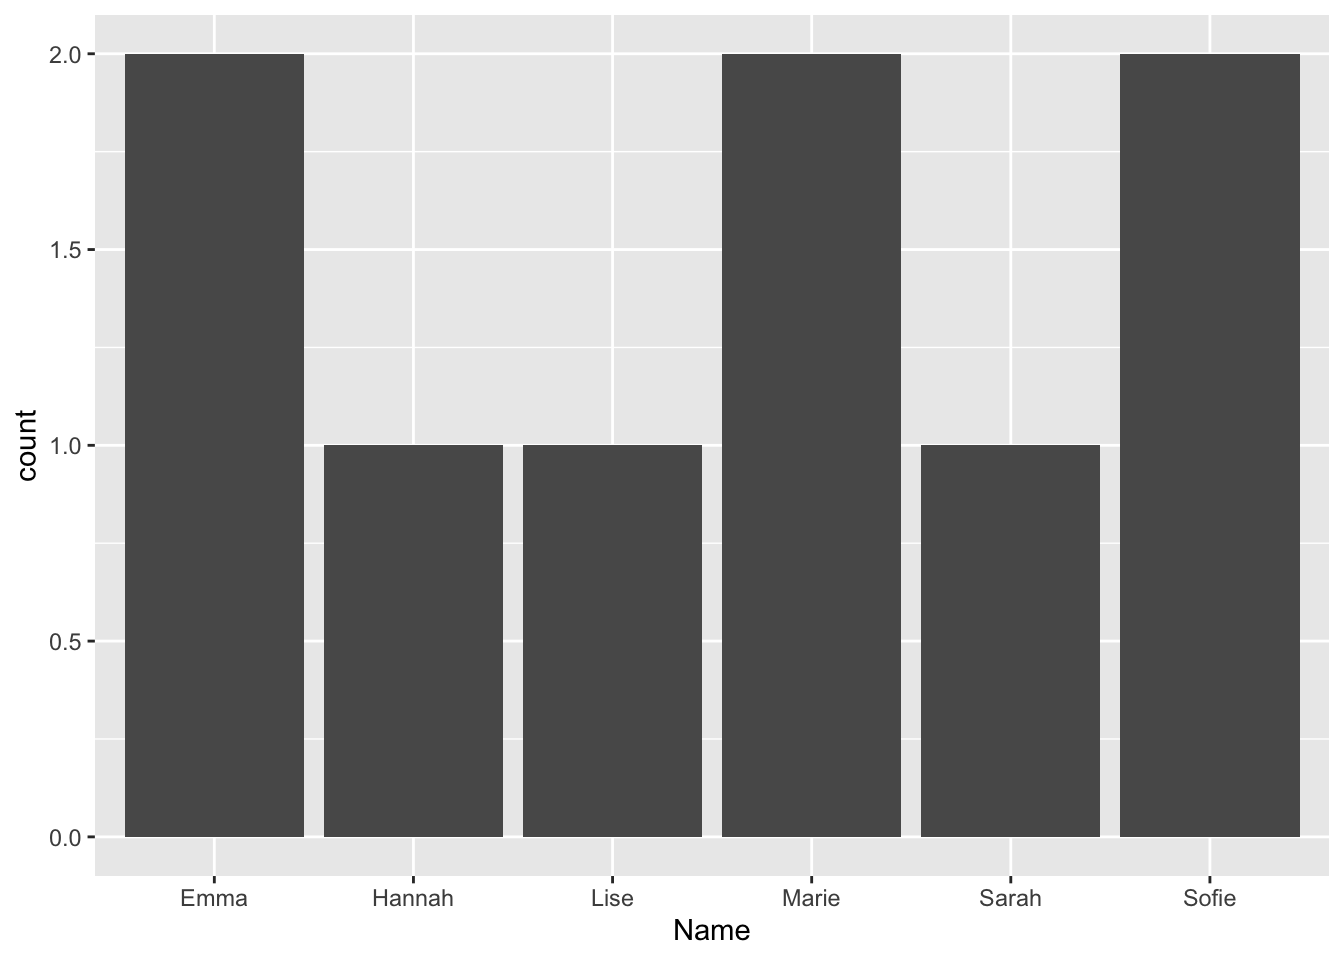
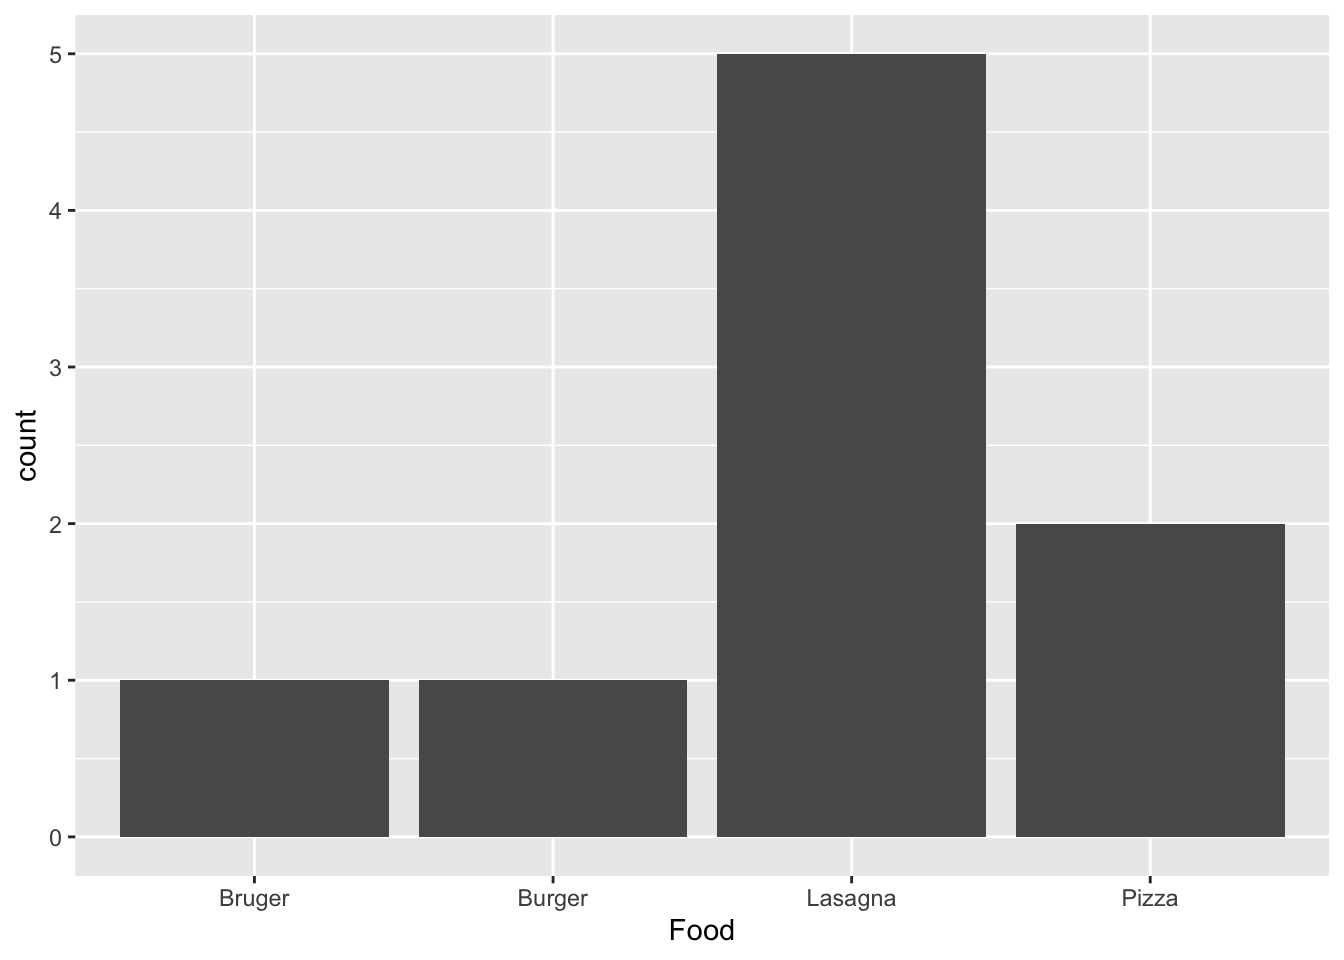
for (col in colnames(plot_data_1)){
  p <- ggplot(plot_data_1,
       aes(x = .data[[col]])) +
  geom_bar()

  print(p)
}

!!sym(col) should also be used for other tidyverse operations (filter, select, …) where you pass the column names in string format.
If-else in loops
We can now use what we have learned to loop through a list, list1 and multiply all numeric values with 10:
list1 <- list(1, 2, 'hello', 3, 'world', 4)for (val in list1) {
if (is.numeric(val)){
statement <- paste(val, 'times 10 is', val*10)
} else {
statement <- paste(val, 'is not a number!')
}
print(statement)
}[1] "1 times 10 is 10"
[1] "2 times 10 is 20"
[1] "hello is not a number!"
[1] "3 times 10 is 30"
[1] "world is not a number!"
[1] "4 times 10 is 40"Note: that this does not work with a vector, i.e. vec <- c(1,2,'hello') because vectors can only contain one data type so all vals of vec are characters.
Save results
Let’s say we want to save the non-numeric values. We can do this in a list.
Initiate list for saving non-numeric values.
non_numeric_values <- list()Append the non-numeric values to the list.
for (val in list1) {
  if (is.numeric(val)){
    next
  } else {
    non_numeric_values <- append(non_numeric_values, val)
  }
}
View list.
non_numeric_values[[1]]
[1] "hello"
[[2]]
[1] "world"While-loop
While-loops are not commonly used in R since they are ineffective in this language. We will demonstrate how they work since they are common in other programming languages.
Say we want to create a list where each val is the letter “A” followed by a number, starting from 0 and going up to 99 We can do this using a while-loop that keeps appending “A_
First, let’s initially the counter count that will count the number of times we go through the while-loop.
count <- 0
list2 <- list()
Now, we can make our while-loop. In each iteration we add 1 to the counter.
while (count < 100) {
  list2 <- append(list2, paste('A_', count, sep = ''))
  count = count + 1
}
Check count
count[1] 100Check length of list as well as the first and the last val.
length(list2) [1] 100list2[[1]][1] "A_0"list2[[length(list2)]][1] "A_99"They way you would do it in R:
list3 <- paste('A_', 1:100, sep = '') %>% as.list()
# list3
Loop control
There are two loop control statements we can use to: next and break
next jumps to the next iteration. Here, we print every val in list1 and when the val is ‘hello’ we jump to the next iteration.
for (val in list1) {
  if(val == 'hello'){
    next
  }

  print(val)
}
[1] 1
[1] 2
[1] 3
[1] "world"
[1] 4break ends the loop before finishing. Here, we print every val in list1 and when the val is ‘hello’ we break (end) the loop.
for (val in list1) {
  if(val == 'hello'){
    break
  }

  print(val)
}
[1] 1
[1] 2